
The way online shoppers interact with their account dashboards has completely changed. Shopify has officially moved away from its legacy customer accounts, shifting every storefront toward a highly secure, conversion-focused ecosystem known as New Customer Accounts.
For store owners, this introduces a major shift: customer account pages are no longer tied to your theme files. You can no longer customize them by messing around with raw theme code or liquid files. Instead, they live within Shopify’s secure extensibility framework—the exact same infrastructure that powers the modern one-page checkout.
The great news? You don't need to know a single line of code to build a world-class customer experience. By utilizing the native Checkout and Accounts Editor along with standard app integrations, you can easily transform a plain login area into a high-powered, brand-aligned post-purchase hub.
Key Takeaways: No-Code Shopify Account Customization
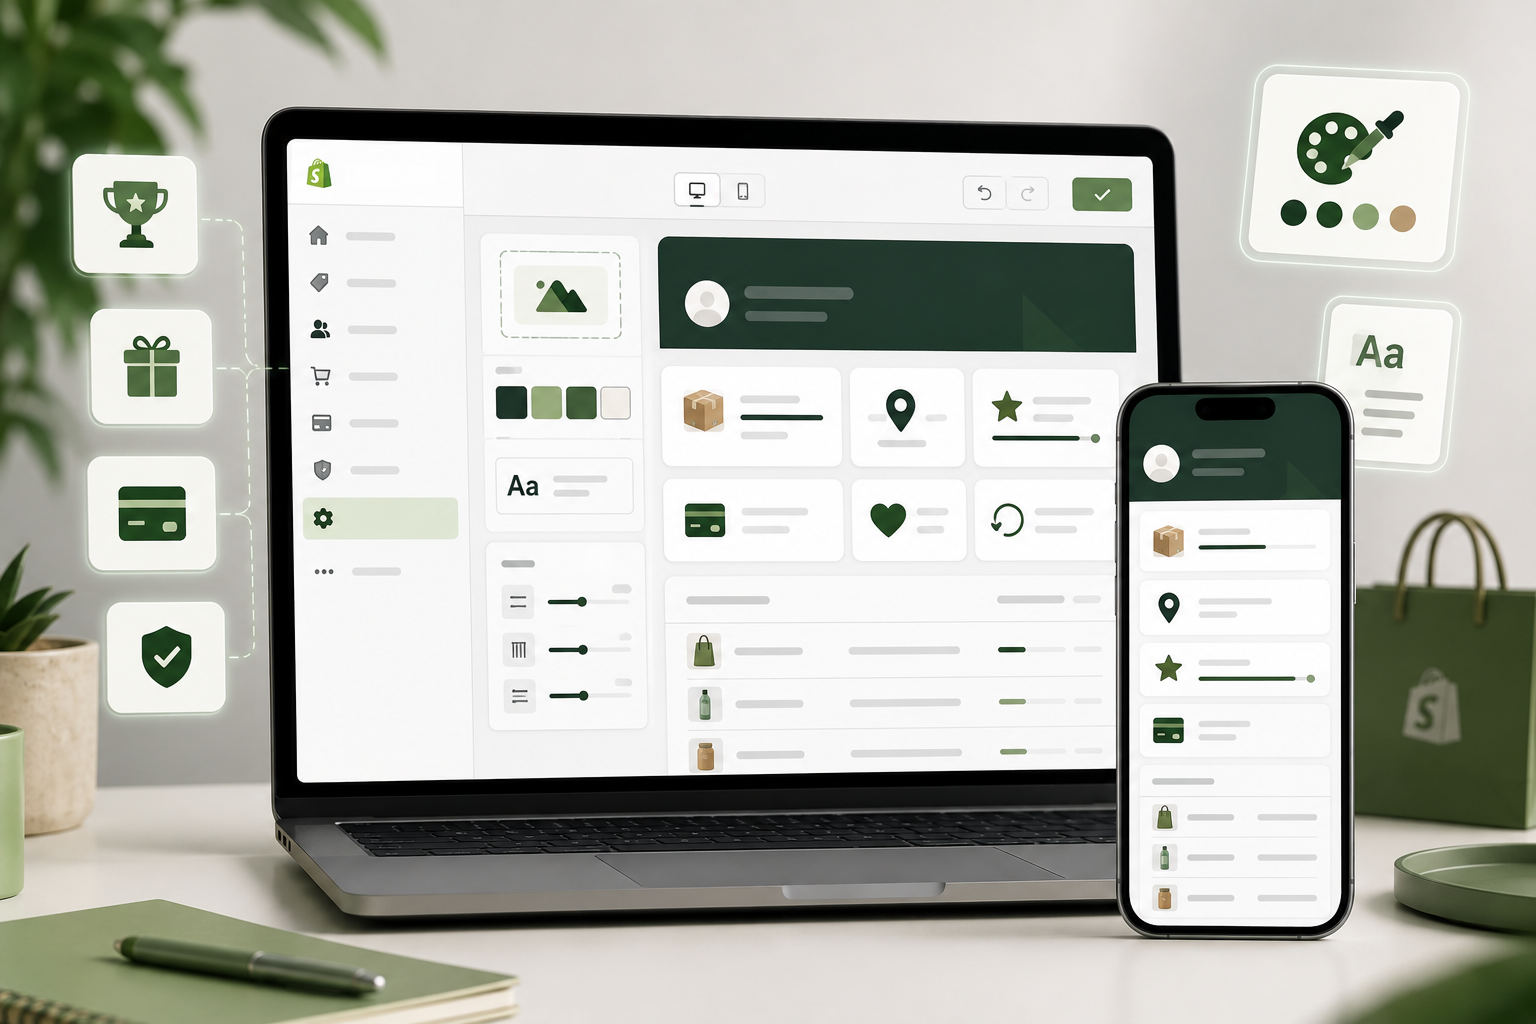
The Fast Answer: To customize the new Shopify customer portal without code, navigate to Settings > Customer accounts in your admin dashboard. Click Manage on your active configuration to launch the visual Checkout and Accounts Editor. Here, you can natively modify branding elements like logos, fonts, and colors, or drag and drop app blocks directly into the customer dashboard customization interface to display loyalty rewards, order tracking, and subscription settings.
Why the New Shopify Customer Account Pages Matter
Before diving into the step-by-step setup, it is crucial to understand what makes the Shopify customer account page unique today, and why it is a massive upgrade for your business.
Historically, customer profiles were just passive, boring tables showing old orders. The modern account experience is explicitly designed as a retention asset—a place to keep buyers coming back. The updated architecture focuses heavily on eliminating user friction and elevating mobile experiences:
- Passwordless Sign-In: Customers no longer need to remember complex passwords or go through stressful password reset cycles. They simply type in their email address, receive a secure 6-digit one-time code via email or SMS, and they are logged in instantly. It also fully integrates with Sign in with Shop, Google, and Facebook for seamless one-click authorization.
- A Unified Brand Experience: Because the account pages use the identical backend infrastructure as Shopify Checkout Extensibility, any style choices, color schemes, or logos you configure for your checkout automatically carry over to your customer portal.
- A Modern Visual Uplift:Shopify rolled out a major layout refresh for the new customer experience. It shifted from wide, fractured layouts to a streamlined, mobile-first, single-column design. App blocks, tracking updates, and navigation menus are now prominently surfaced right at the top of the screen instead of being hidden behind hamburger menus or sub-tabs.
Step-by-Step: How to Customize Your Shopify Customer Portal Without Code
Because Shopify has locked down direct file editing for security, the structural layout is standardized. However, you retain complete visual and functional control through a modular drag-and-drop system. Follow these clear steps to customize your best way to customize Shopify customer portal layouts safely.
Step 1: Activate New Customer Accounts
If your store is still running on legacy systems or guest-only checkouts, you must first toggle on the modern architecture.
- Go to your Shopify Admin dashboard and click Settings (the gear icon at the bottom-left corner).
- From the sidebar menu, select Customer accounts.
- In the Accounts in online store and checkout section, click Edit.
- Choose the option to use New customer accounts.
- Turn on the toggles for Sign in with Shop, Google, or Facebook to add friction-free social login options directly onto your storefront header.
Step 2: Launch the Checkout and Accounts Editor
Once activated, you can jump straight into the visual, code-free customization dashboard.
- Staying inside Settings > Customer accounts, locate the Configurations section.
- Click the Manage or Customize button on your active profile.
- This opens up a live preview visual editor. At the very top center of this screen, click the drop-down menu (which defaults to "Information") and change the preview page to New Customer Accounts.
Step 3: Style Your Branding and Sign-In Screen
The left-hand sidebar of the editor gives you direct control over your global brand aesthetics. Any adjustments made here immediately render across the login page and account dashboard.
| Customization Zone | Modifiable No-Code Elements |
|---|---|
| Logo Integration | Upload your main brand logo, set its position (Left, Center, Right), and adjust its display width dynamically with a slider. |
| Typography | Change primary headings and body text fonts to match your main storefront theme styling. |
| Color Palette | Modify button colors, links, background fills, text fields, and accent badges to ensure complete brand consistency. |
| Header Image | Add a distinctive, unique background banner image to the login screen to give your portal a high-end feel. |
Step 4: Add Functional Apps via Drag-and-Drop App Blocks
To go beyond basic color changes and actually turn your customer account dashboard into an interactive workspace, you will leverage Shopify App Blocks.
Because of the extensibility framework, top-tier Shopify apps can securely inject visual widgets directly into specific coordinates of the account page without altering your store’s underlying theme code.
- In the visual editor sidebar, click on the Add Block button.
- A menu will appear displaying all compatible apps currently installed on your store (e.g., loyalty rewards widgets, advanced tracking bars, or subscription portals).
- Select the app widget you want to display.
- Drag and drop the block to position it exactly where you want it—such as inside the main profile overview, right above the order history list, or inline with specific order details.
- Click Save in the top right corner.
Strategic Upgrades for Your Shopify Customer Dashboard Customization
To get the highest possible customer lifetime value from your logged-in buyers, you shouldn't settle for a basic layout. Here are the core apps and features you should plug into your Shopify customer dashboard customization workflow to maximize retention:
1. Enable Native Self-Serve Returns
You do not need an expensive third-party returns app to let customers initiate return requests. Within Settings > Customer accounts, you can flip a native switch for Self-serve returns.
Once turned on, an actionable "Request Return" button automatically appears right next to eligible fulfilled orders inside the user's dashboard. Customers select their return reason and quantity without ever needing to message your customer service queue.
2. Showcase Loyalty and Rewards Programs
Integrating a loyalty program is arguably the best upgrade for an account space. By using no-code apps, you can drop a rewards block directly at the top of the dashboard page. When a customer logs in, they are immediately greeted with their current points balance, an interactive VIP tier progress bar, and clickable discount codes they can instantly apply to their next cart.
3. Embed Native Store Credit Systems
If you use Shopify Plus or specific credit apps on standard plans, you can display an active Store Credit wallet balance directly inside the dashboard. Instead of issuing clumsy gift card codes via email for customer service accommodations or returns, the balance sits natively in their portal, updating automatically and encouraging fast repeat purchases.
4. Integrate Advanced Order Tracking
While Shopify provides a reliable native layout for order statuses, adding a tracking app extension injects an interactive, step-by-step visual progress bar directly into the account page. Customers can view exact real-time shipping transitions without navigating away to external courier websites.
Comparison: Old Legacy Accounts vs. New Extensible Customer Accounts
To see exactly why making the switch to this modern framework is essential for keeping your store competitive, look at how the two infrastructures stack up side-by-side:
| Feature / Capability | Legacy Customer Accounts (Deprecated) | New Customer Accounts (Current Framework) |
|---|---|---|
| Authentication Method | Traditional Email + Password (High friction) | Passwordless Email 6-Digit OTP / SMS / Shop Sign-In |
| Customization Tool | Manual Liquid/CSS code changes in theme files | Drag-and-drop Checkout & Accounts Visual Editor |
| Mobile Experience | Fragmented desktop layouts scaled down | Native single-column layout optimized for mobile screens |
| App Security | Apps run scripts directly inside the page theme | Apps run in isolated, sandboxed secure environments |
| Native Return Management | Requires manual coding or expensive third-party tools | Fully automated native self-serve returns toggle |
| Feature Support Status | Defunct; no updates or engineering support | Fully supported; core focus of Shopify updates |
Best Practices for a Seamless Customer Transition
When moving over to the Shopify customer account customization framework, keep these quick tips in mind to protect your user experience:
- Keep Account Creation Optional: Forcing users to create an account before checking out remains a top cause of abandoned carts. Leave checkout settings as "Accounts are optional," and instead encourage account creation after the purchase is complete on the Thank You page.
- Frame the Account as a Benefit: When inviting customers to log in via email marketing or post-purchase banners, don't just say "Create an Account." Reframe it around immediate value: "Log in instantly to view your rewards, track your package live, or initiate a one-click exchange."
- Audit Your Existing App Suite: If you are migrating an older Shopify store, check your current apps. Ensure your loyalty, subscription, and returns providers explicitly support "New Customer Accounts App Blocks" so you can easily drop them into the visual editor without encountering any technical hitches.
By capitalizing on Shopify's intuitive layout tools and no-code app integrations, you can seamlessly build an elite, trustworthy post-purchase portal that keeps your customers returning to your store again and again.
Frequently Asked Questions
Can I use code to change my new Shopify customer account page?
No, you cannot use code. Shopify turned off code editing for the new account pages to keep them secure. Instead, you can change how they look using a simple drag-and-drop visual editor, just like changing colors or uploading a logo in your main store setting.
What is the main difference between Classic and New Shopify accounts?
The login style and how you edit them. Classic accounts force customers to remember a password, and you have to change the page using code. New Account lets customers log in safely using a quick 6-digit code sent to their email or phone. No password needed and you can edit them without code.
How do I show loyalty rewards on the Customer Account Dashboard?
You use a simple drag and drop block. Open your Shopify settings, go to Customer accounts, and click Manage to open the visual editor. Click Add Block, pick your loyalty app, and drop it right onto the page where you want customers to see their points.
Why aren’t my apps showing up on the New Customer Dashboard?
The app might be outdated, or you forgot to add its block. First, make sure your app works with Shopify’s new account pages. Second, make sure you actually went into visual editor, click Add Block, selected the app, and clicked Save in the top right corner.
